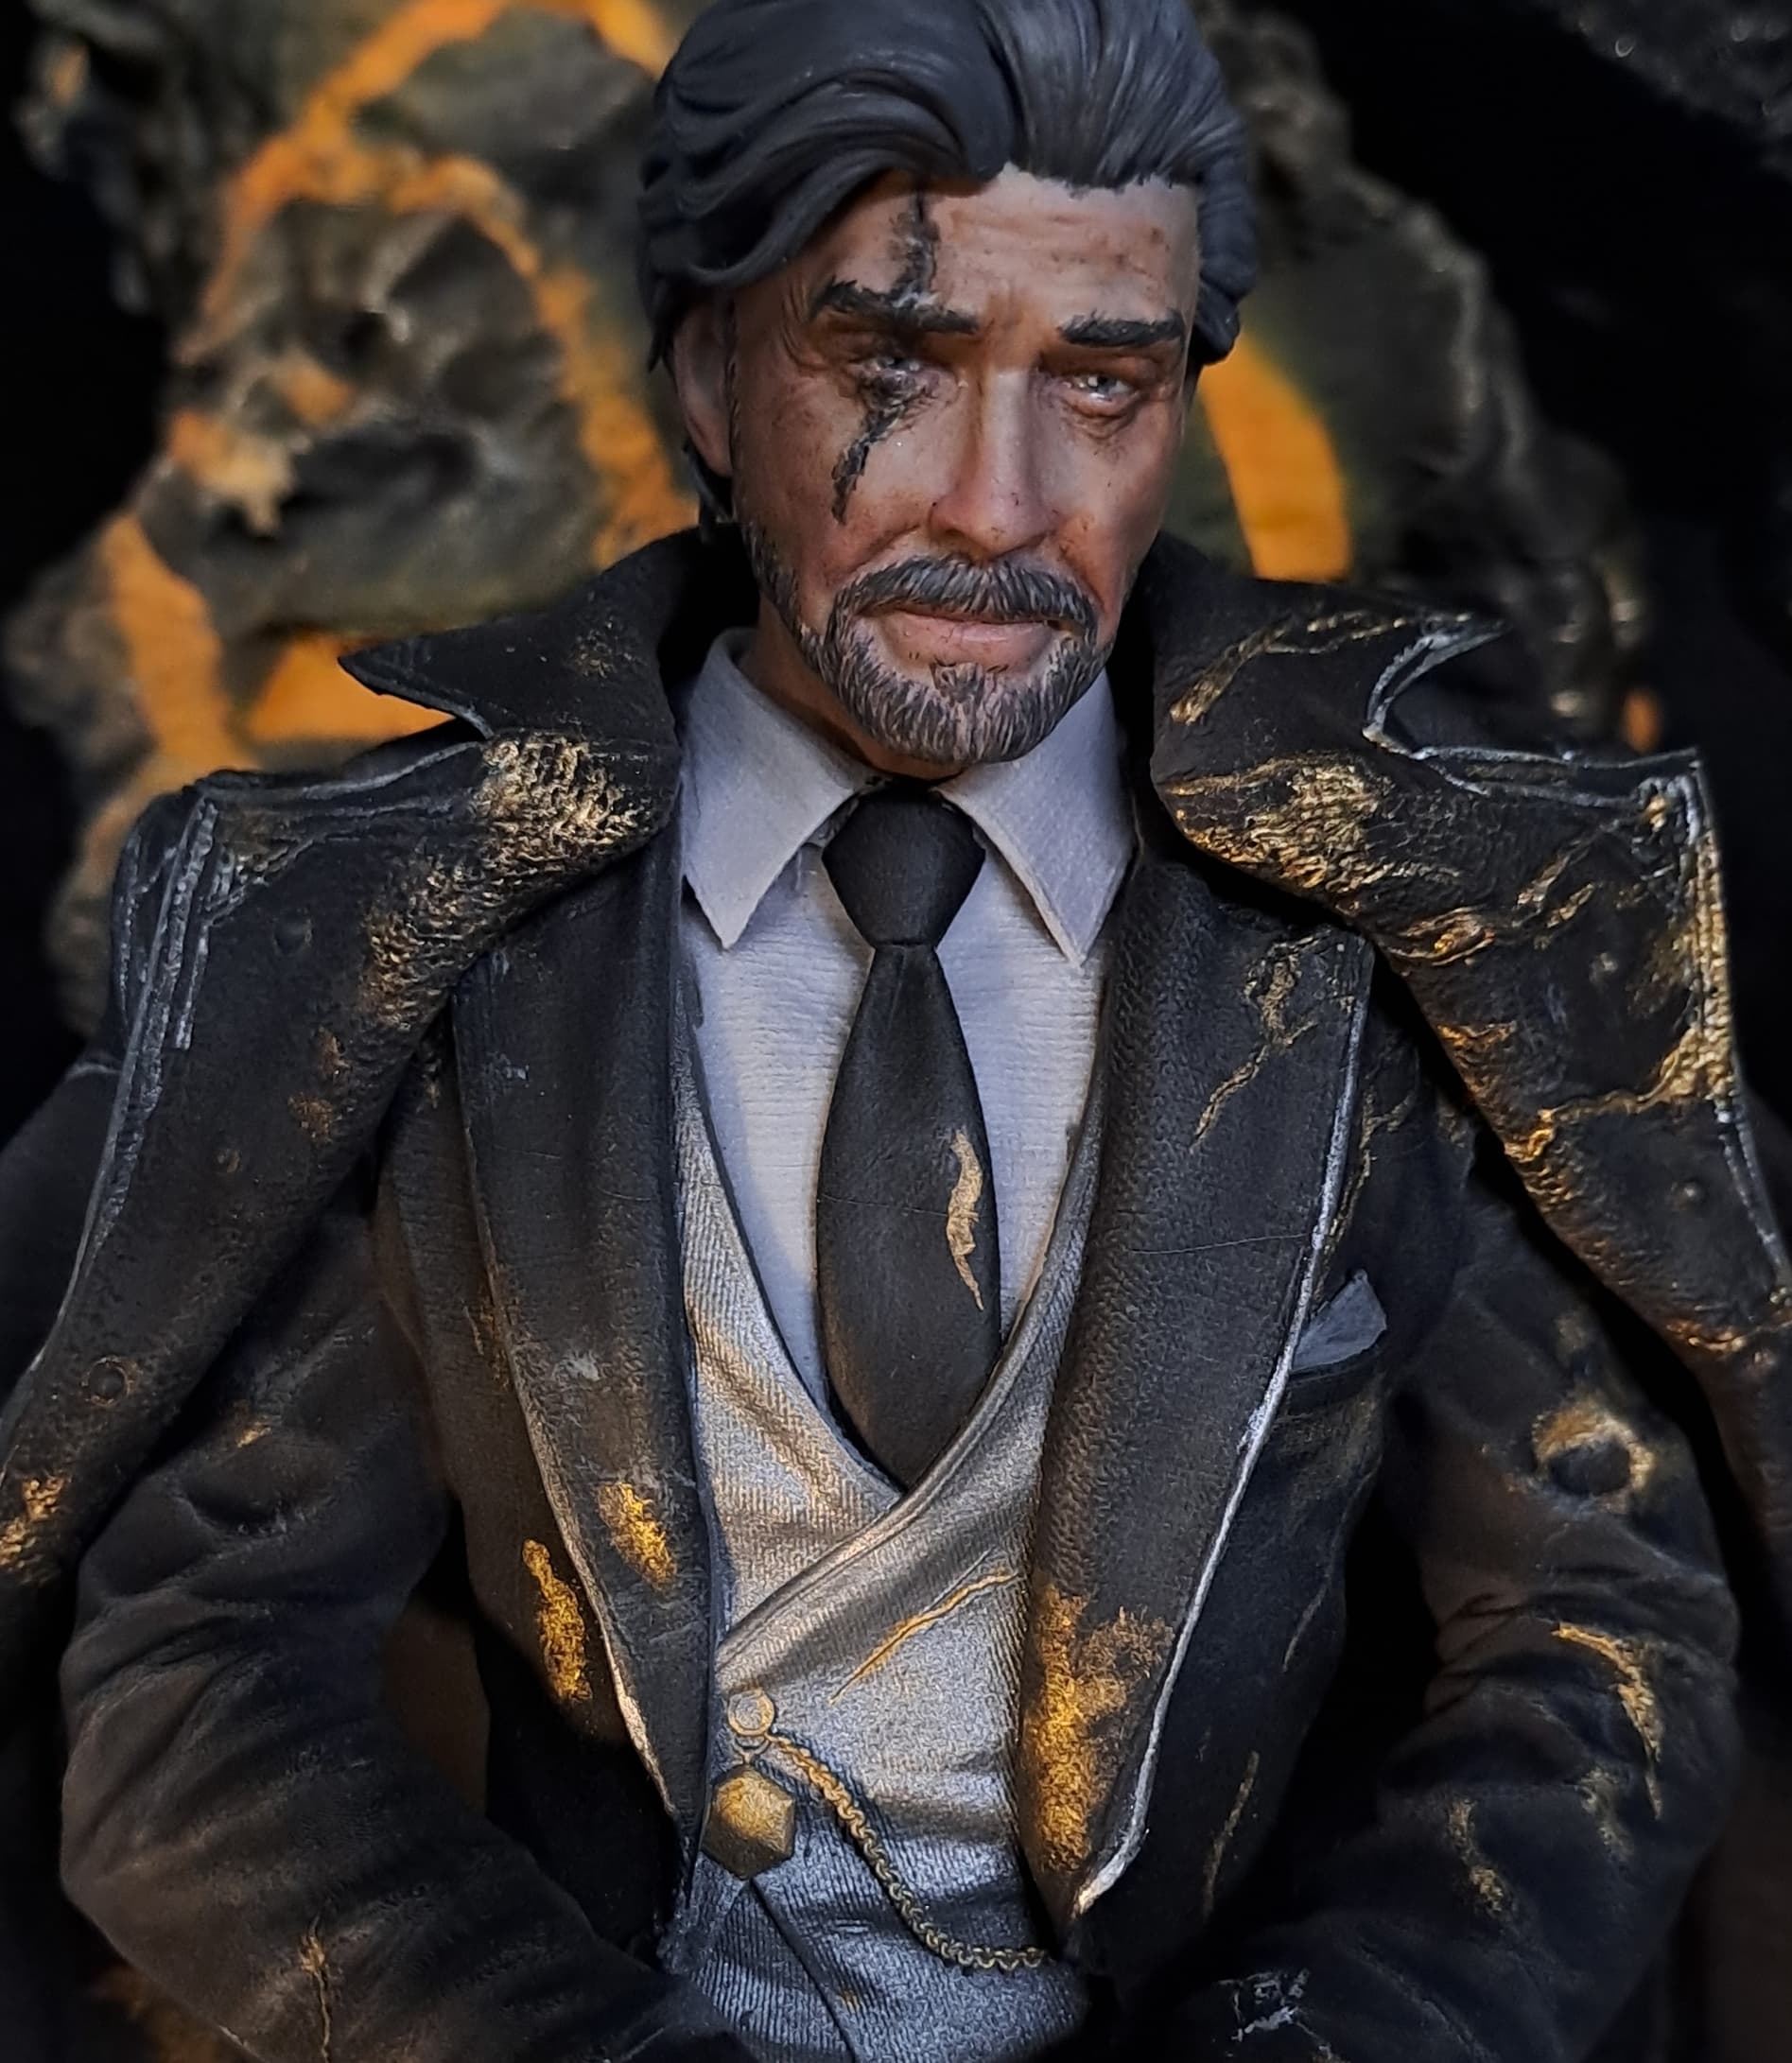
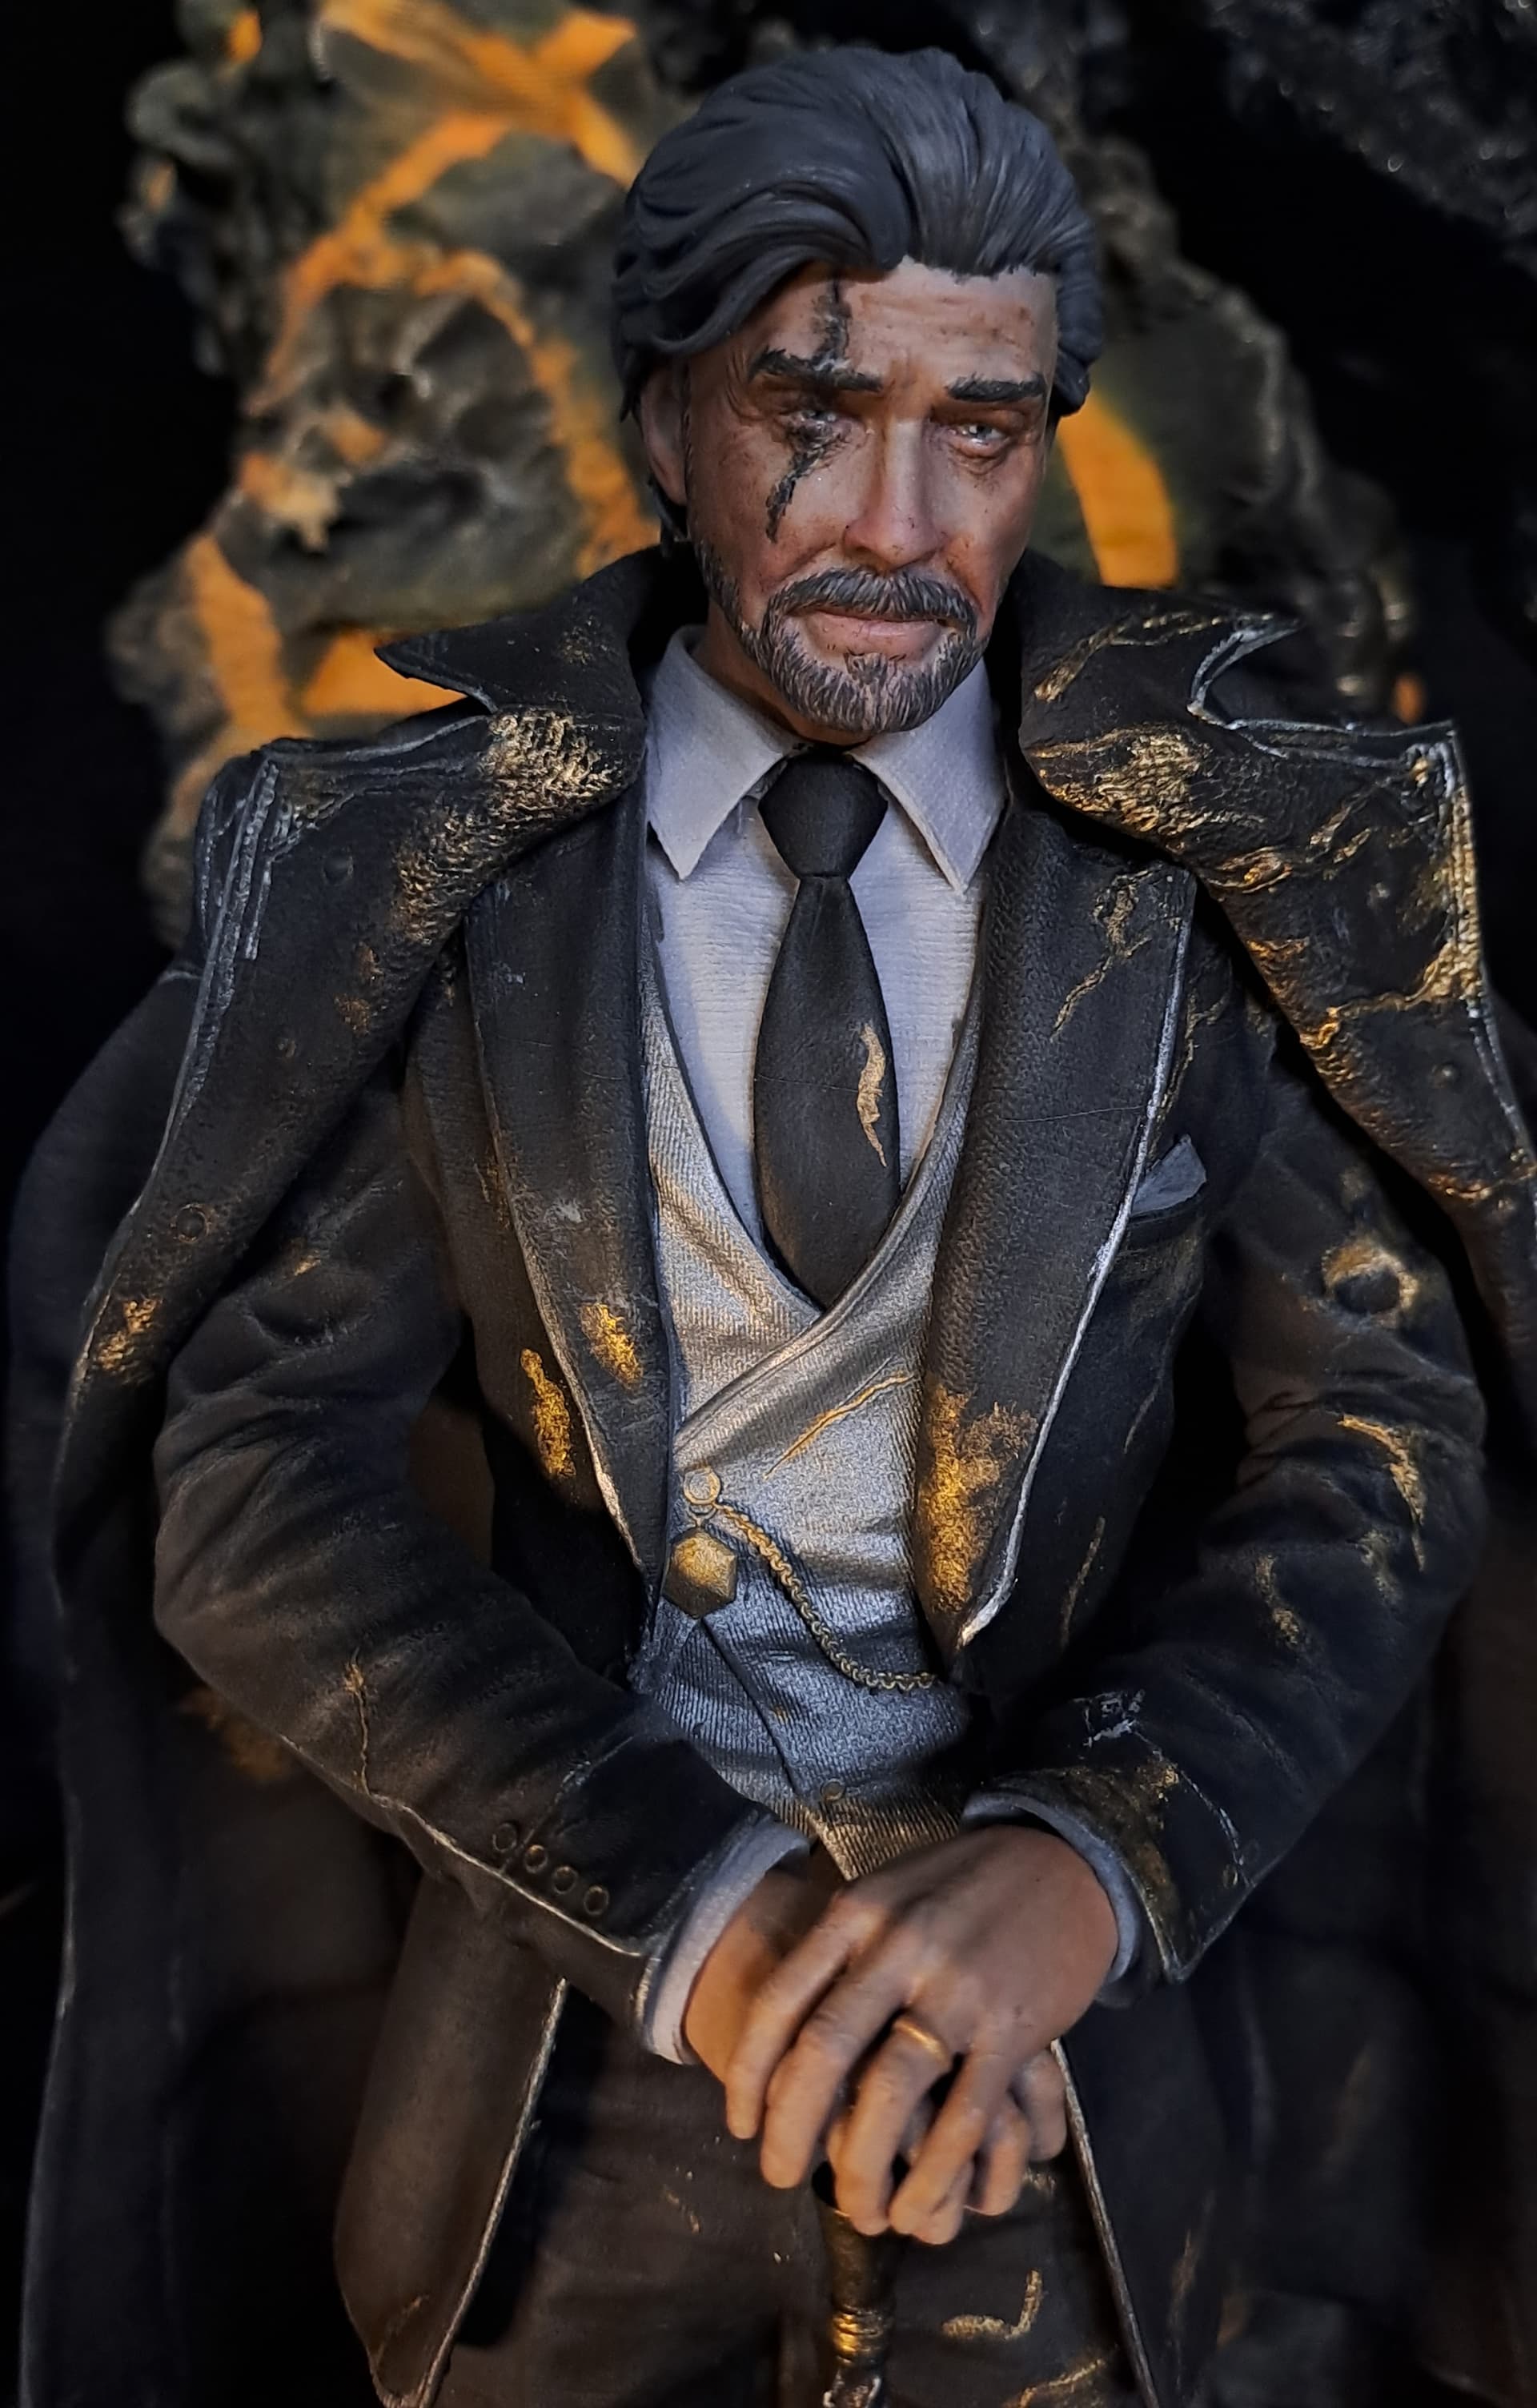
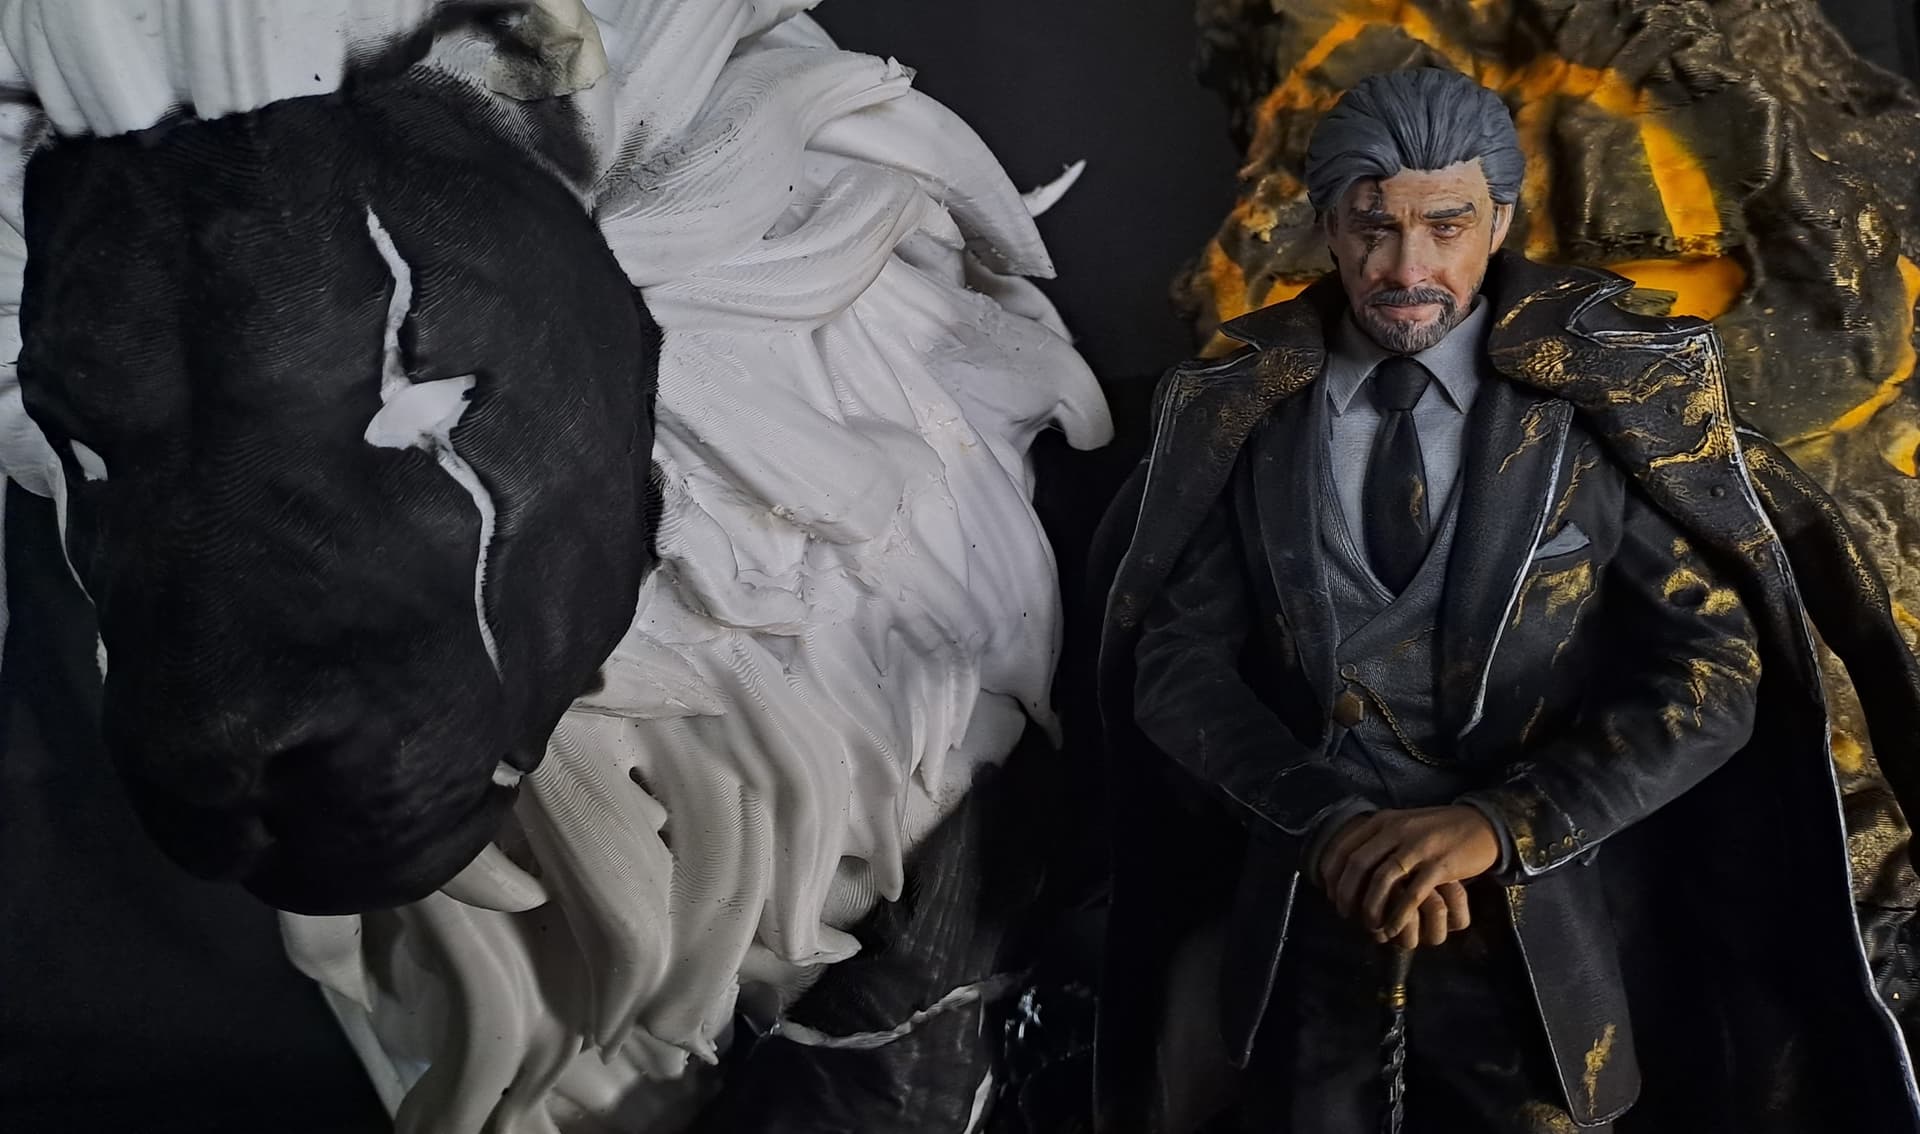
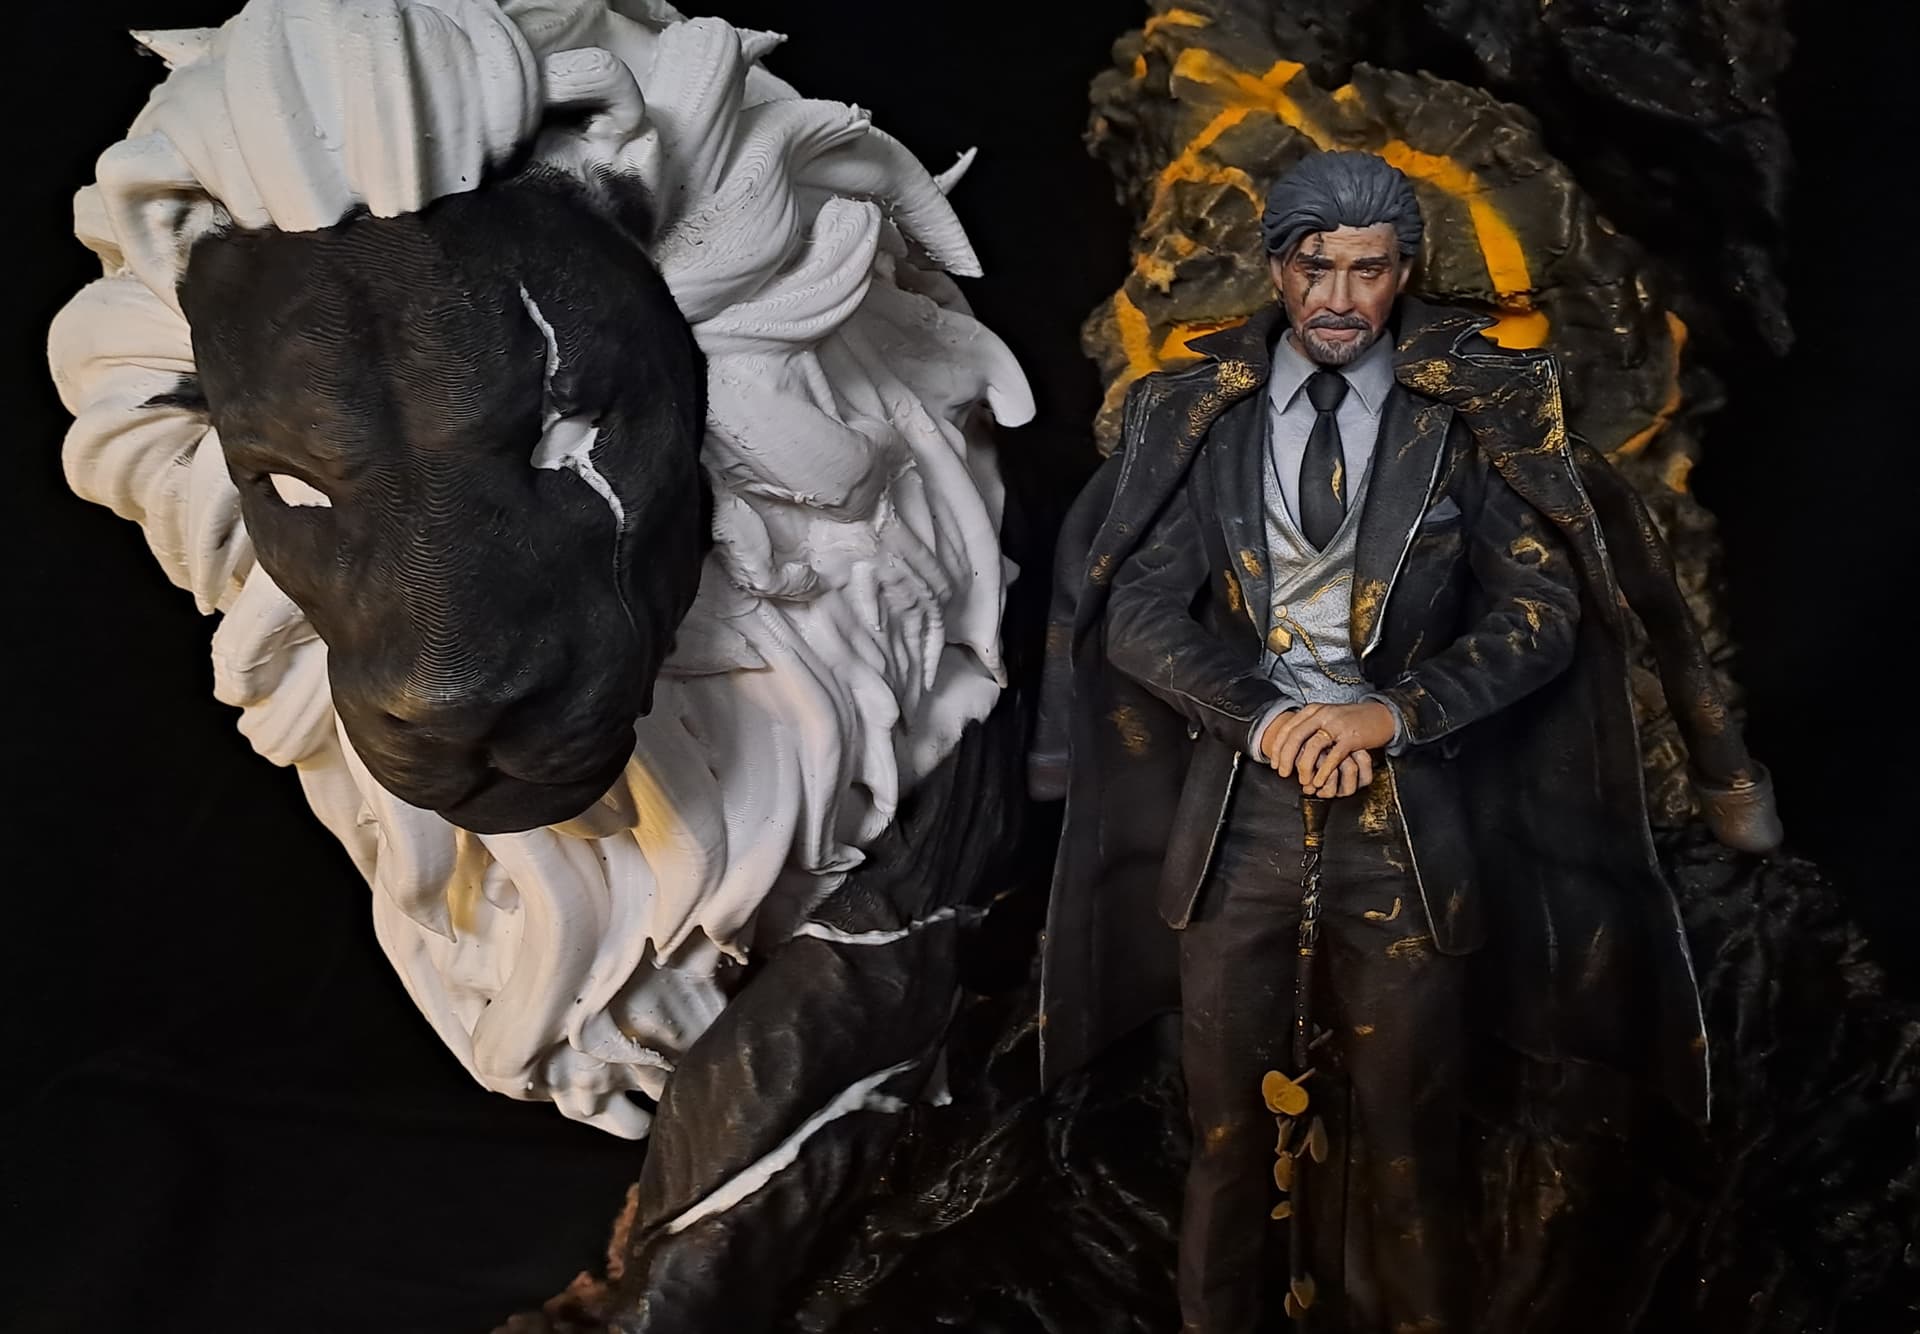
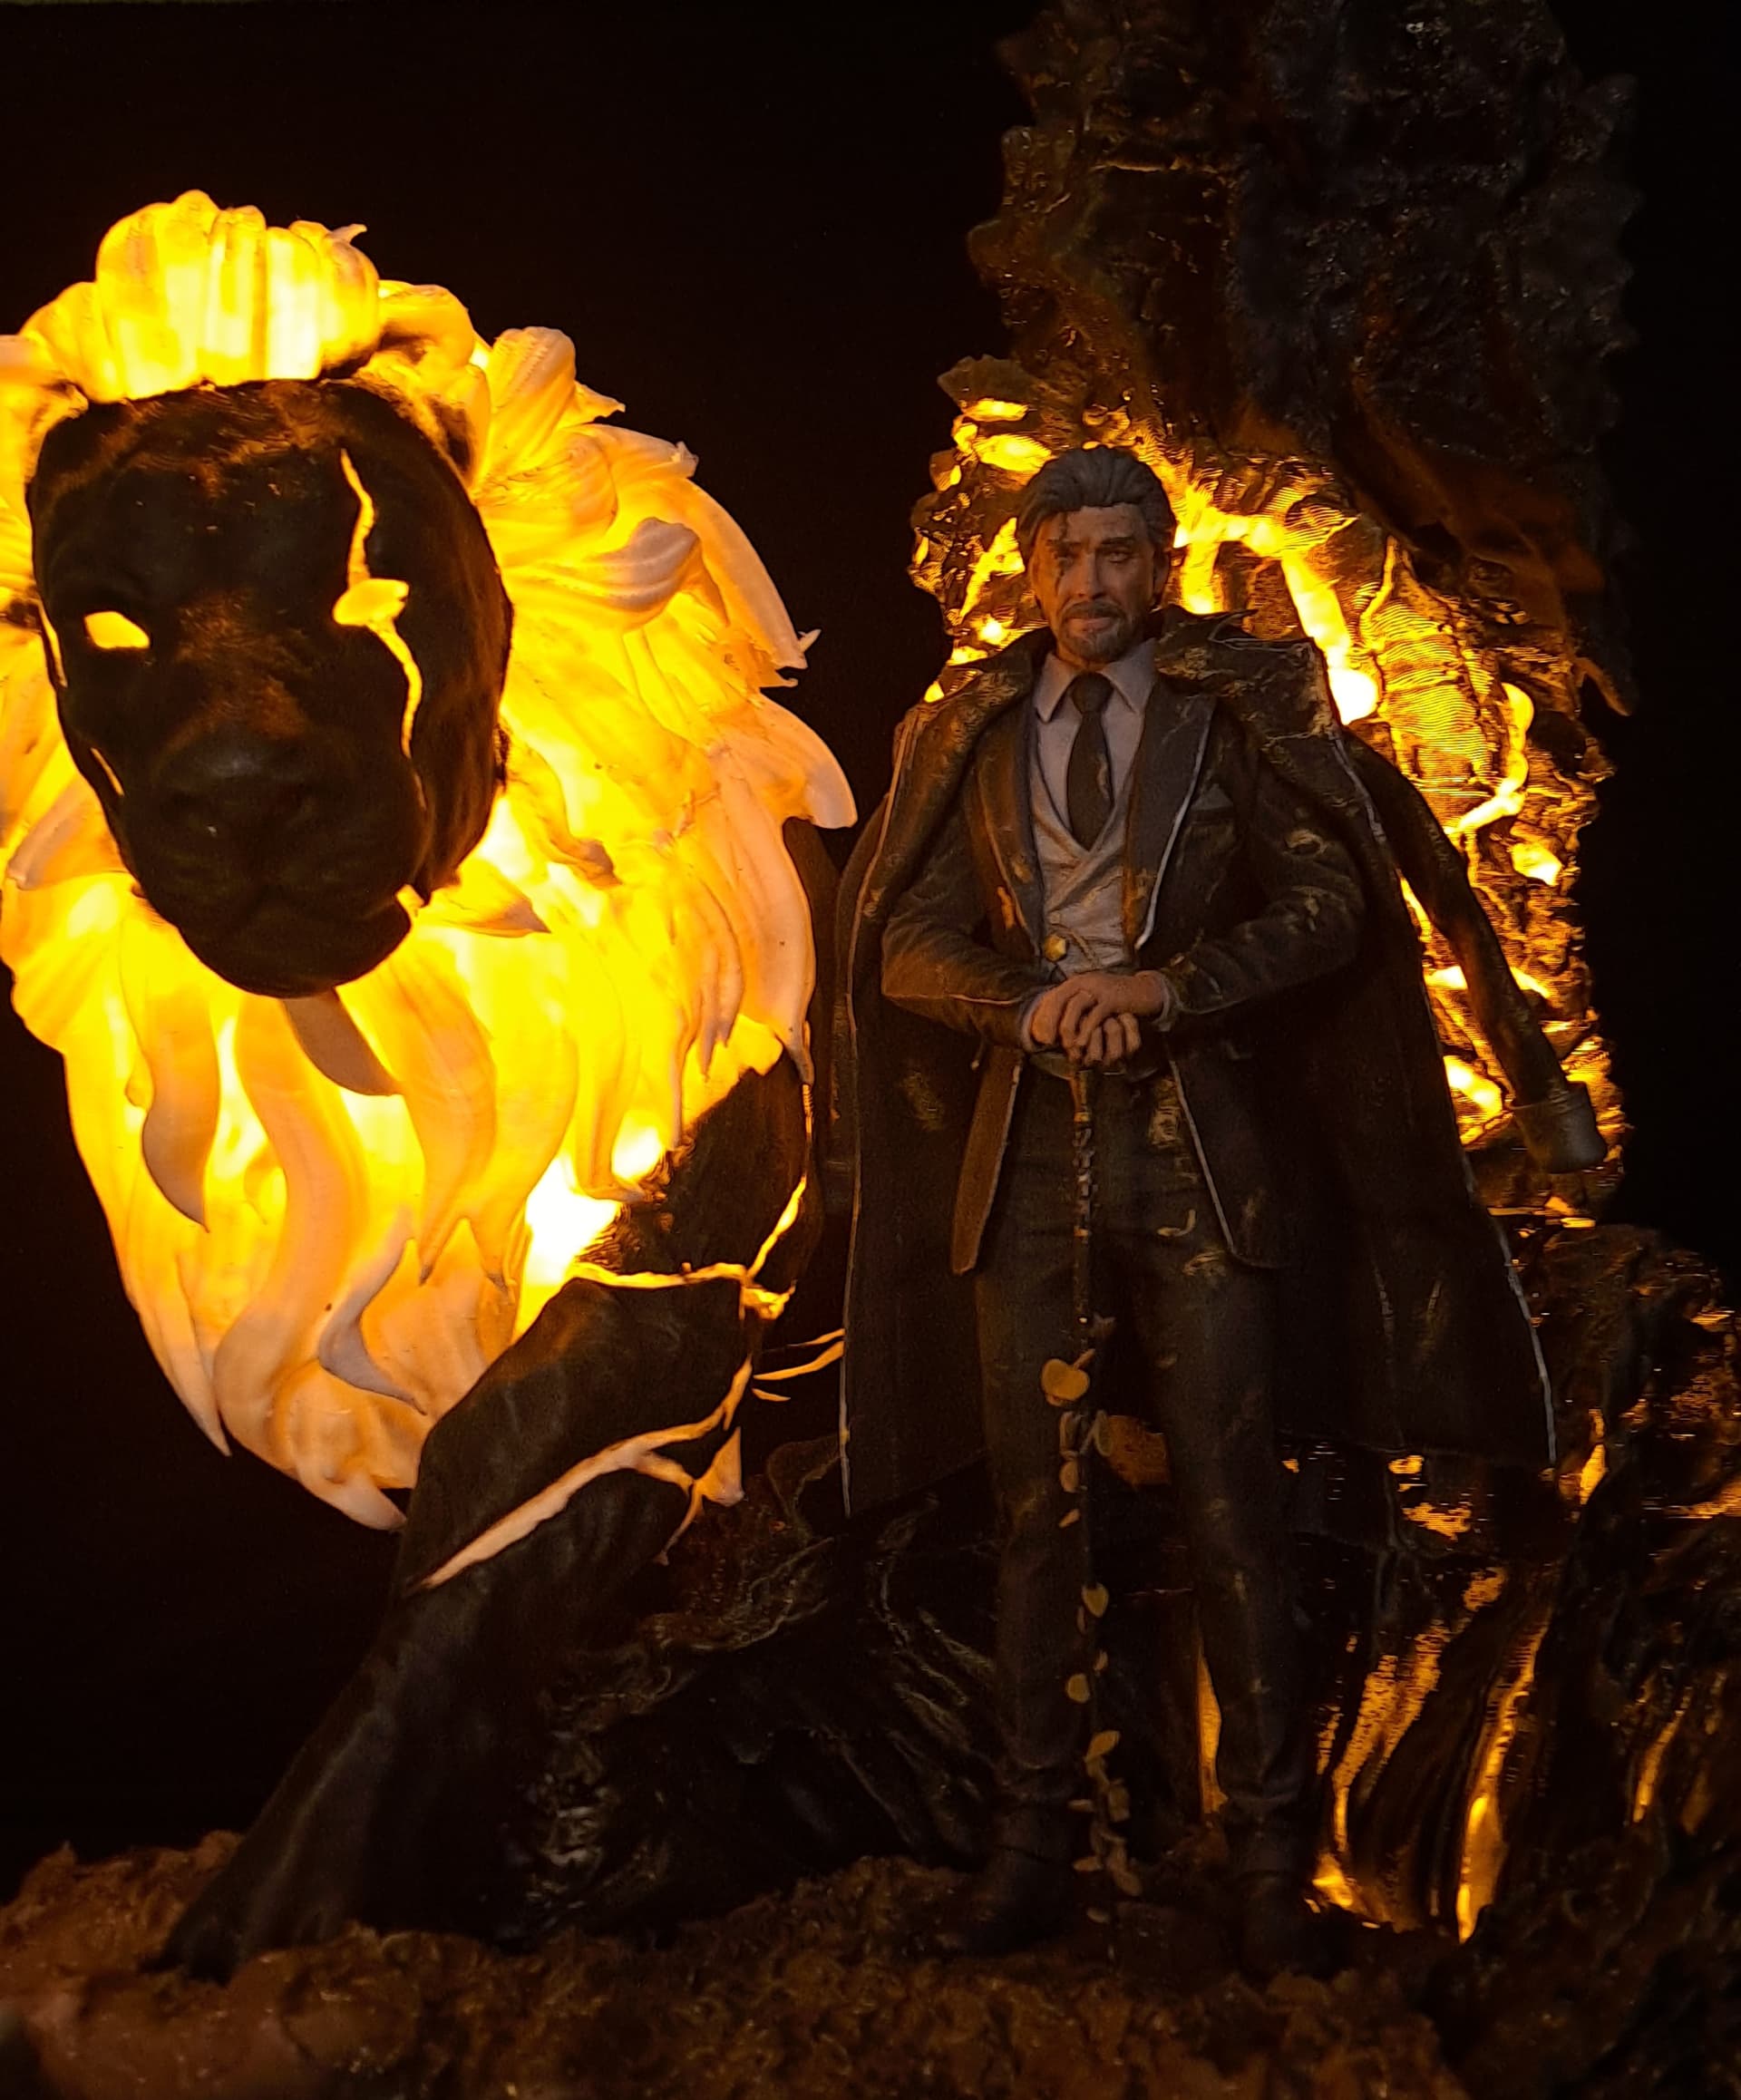
The final figure follows the 1:8 scale, with a size of 60x30x40cm
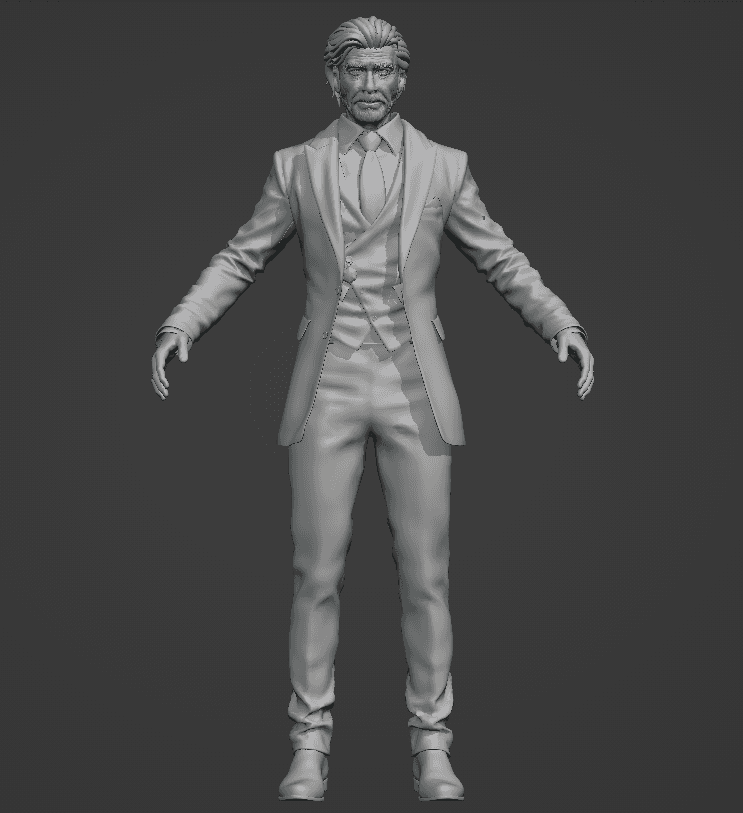
The model was created in Blender. The character was sculpted in an A-pose using the MultiResolution modifier to preserve the initial subdivision and facilitate subsequent posing. Details were added using displacement maps.
Once the model was completed, it was necessary to divide Renoir, the Lion and the Monolith into parts for proper 3D printing.
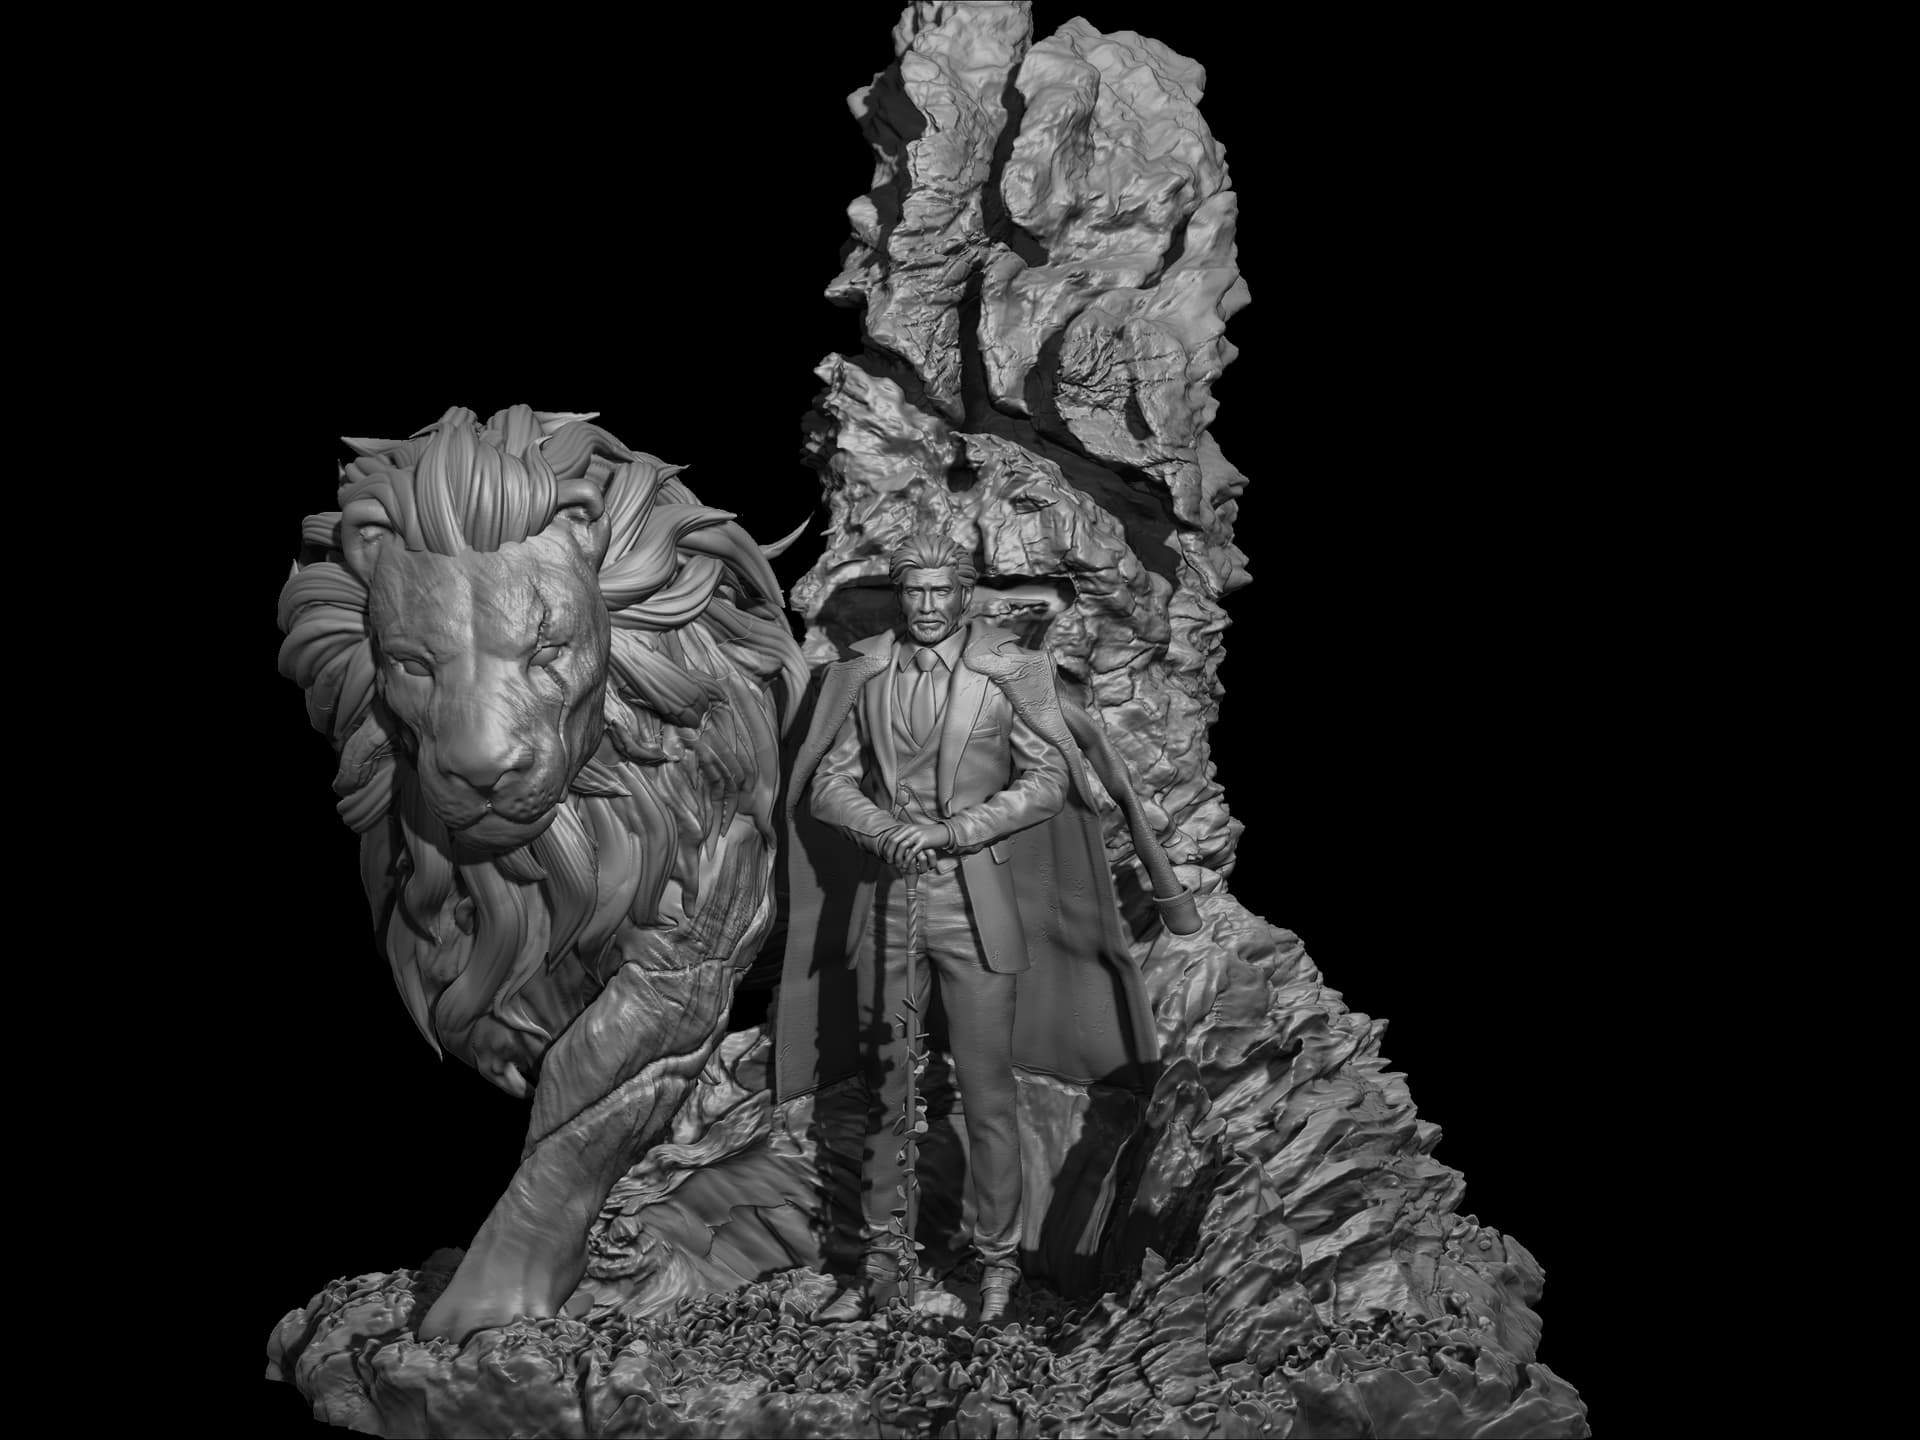
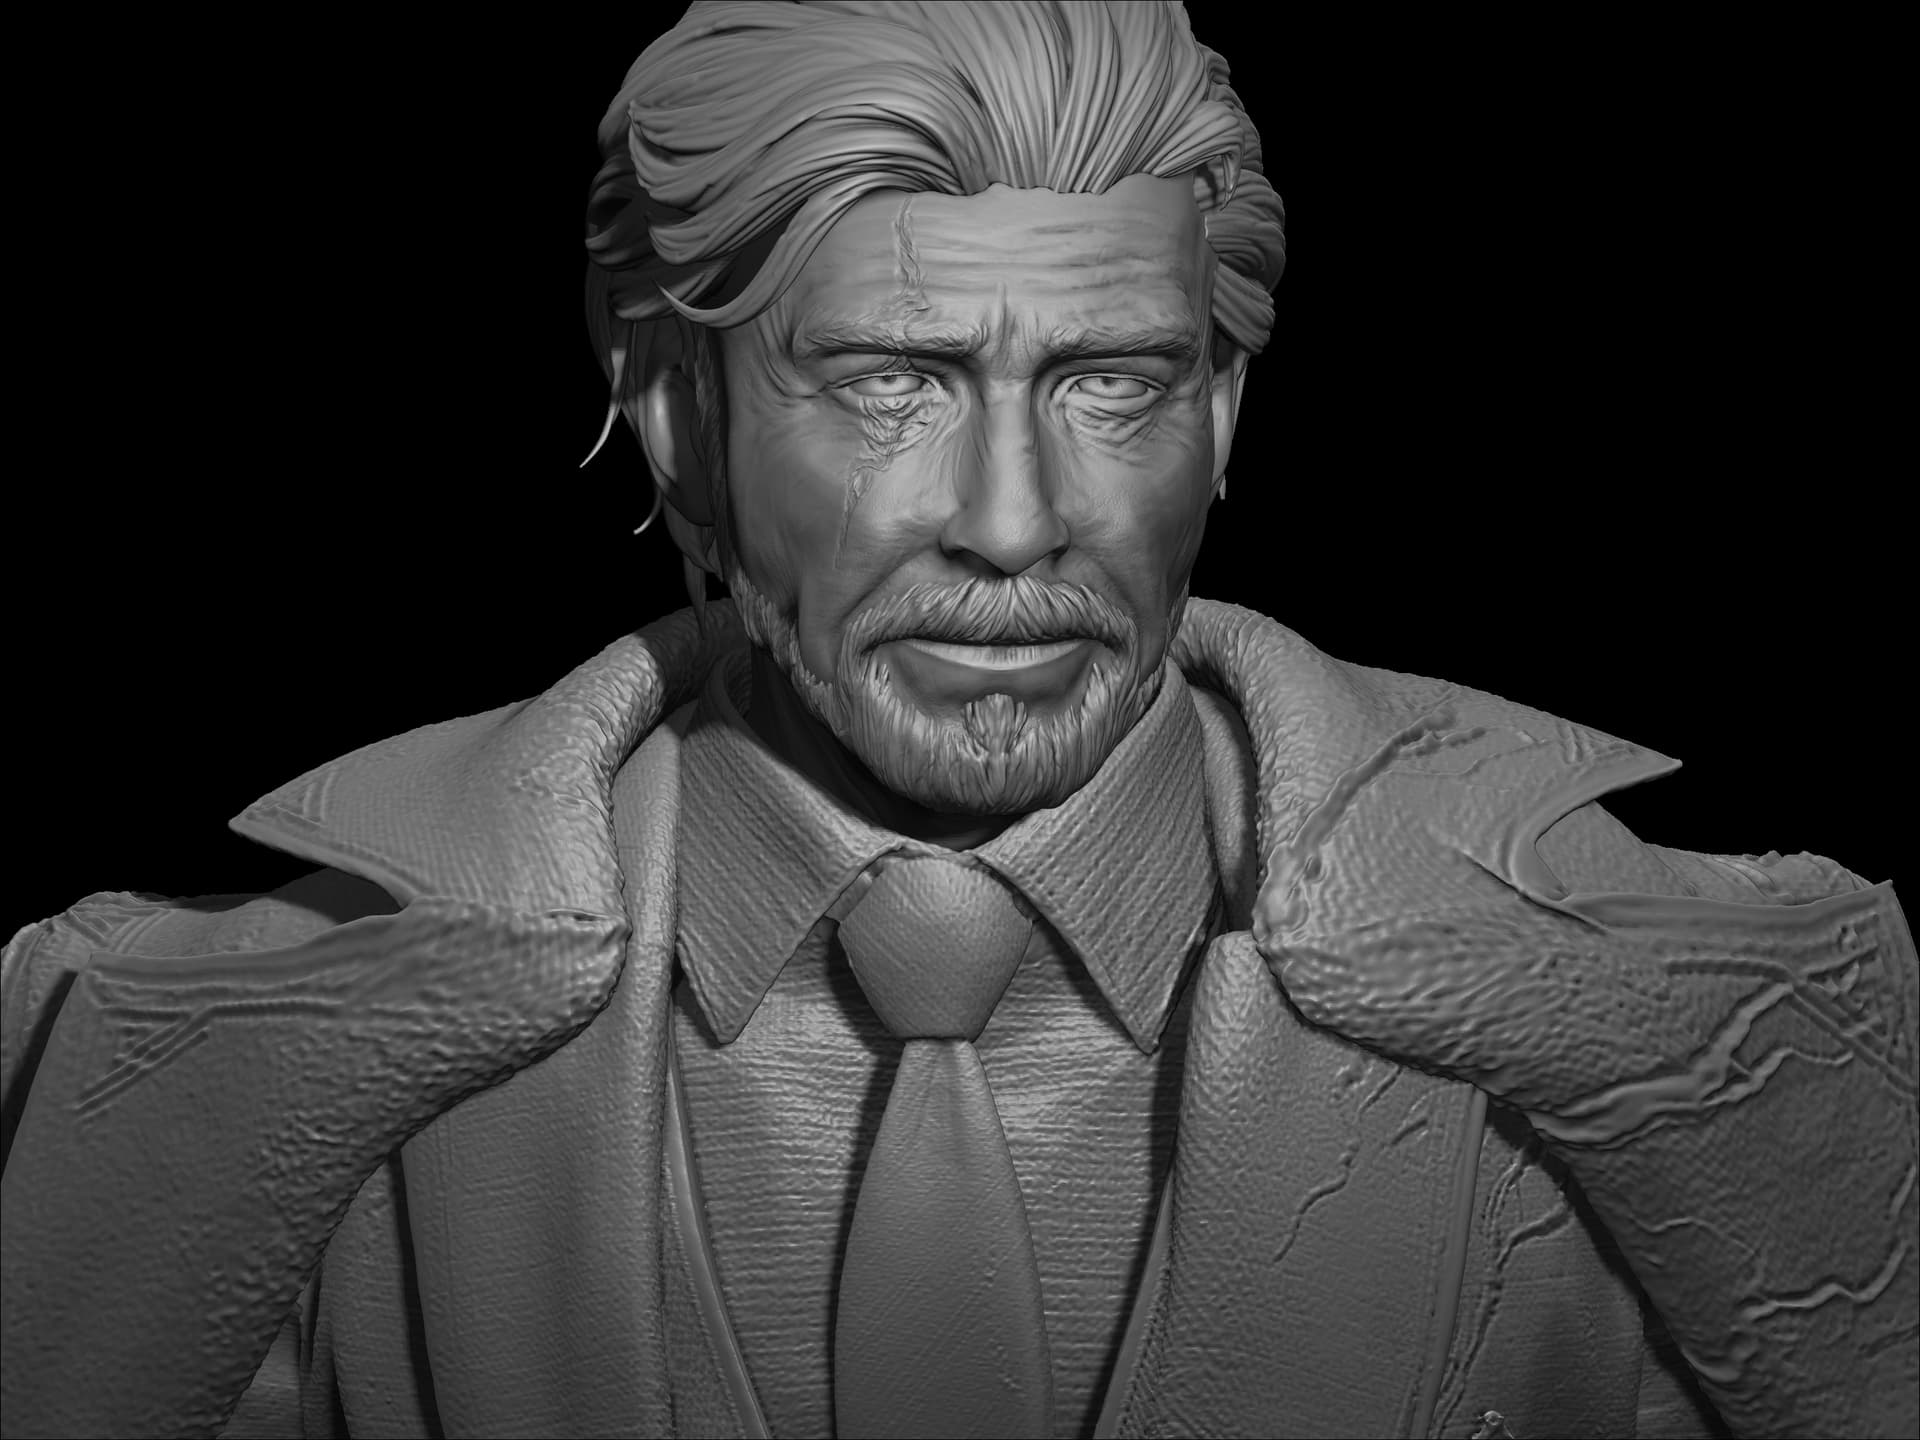
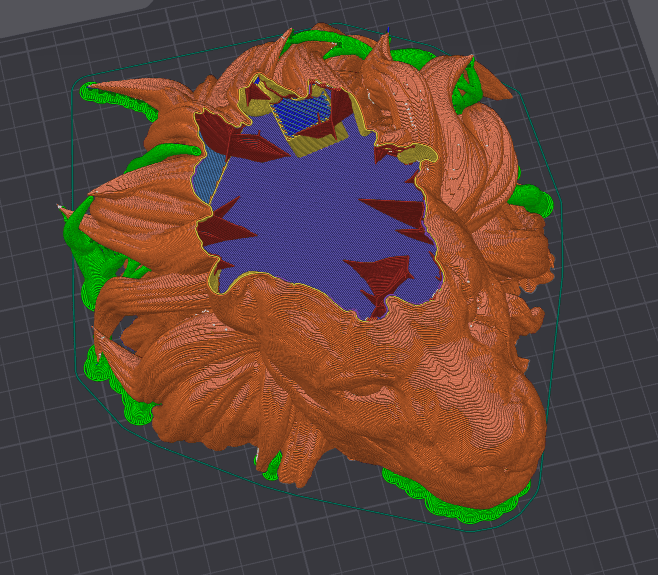
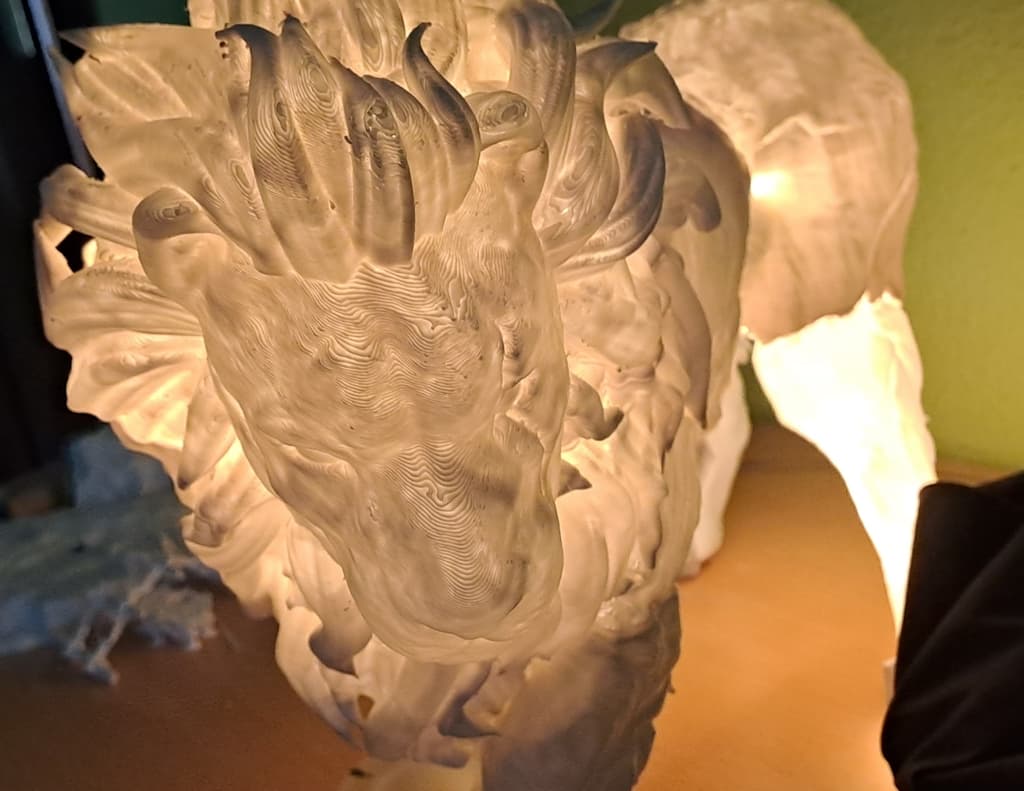
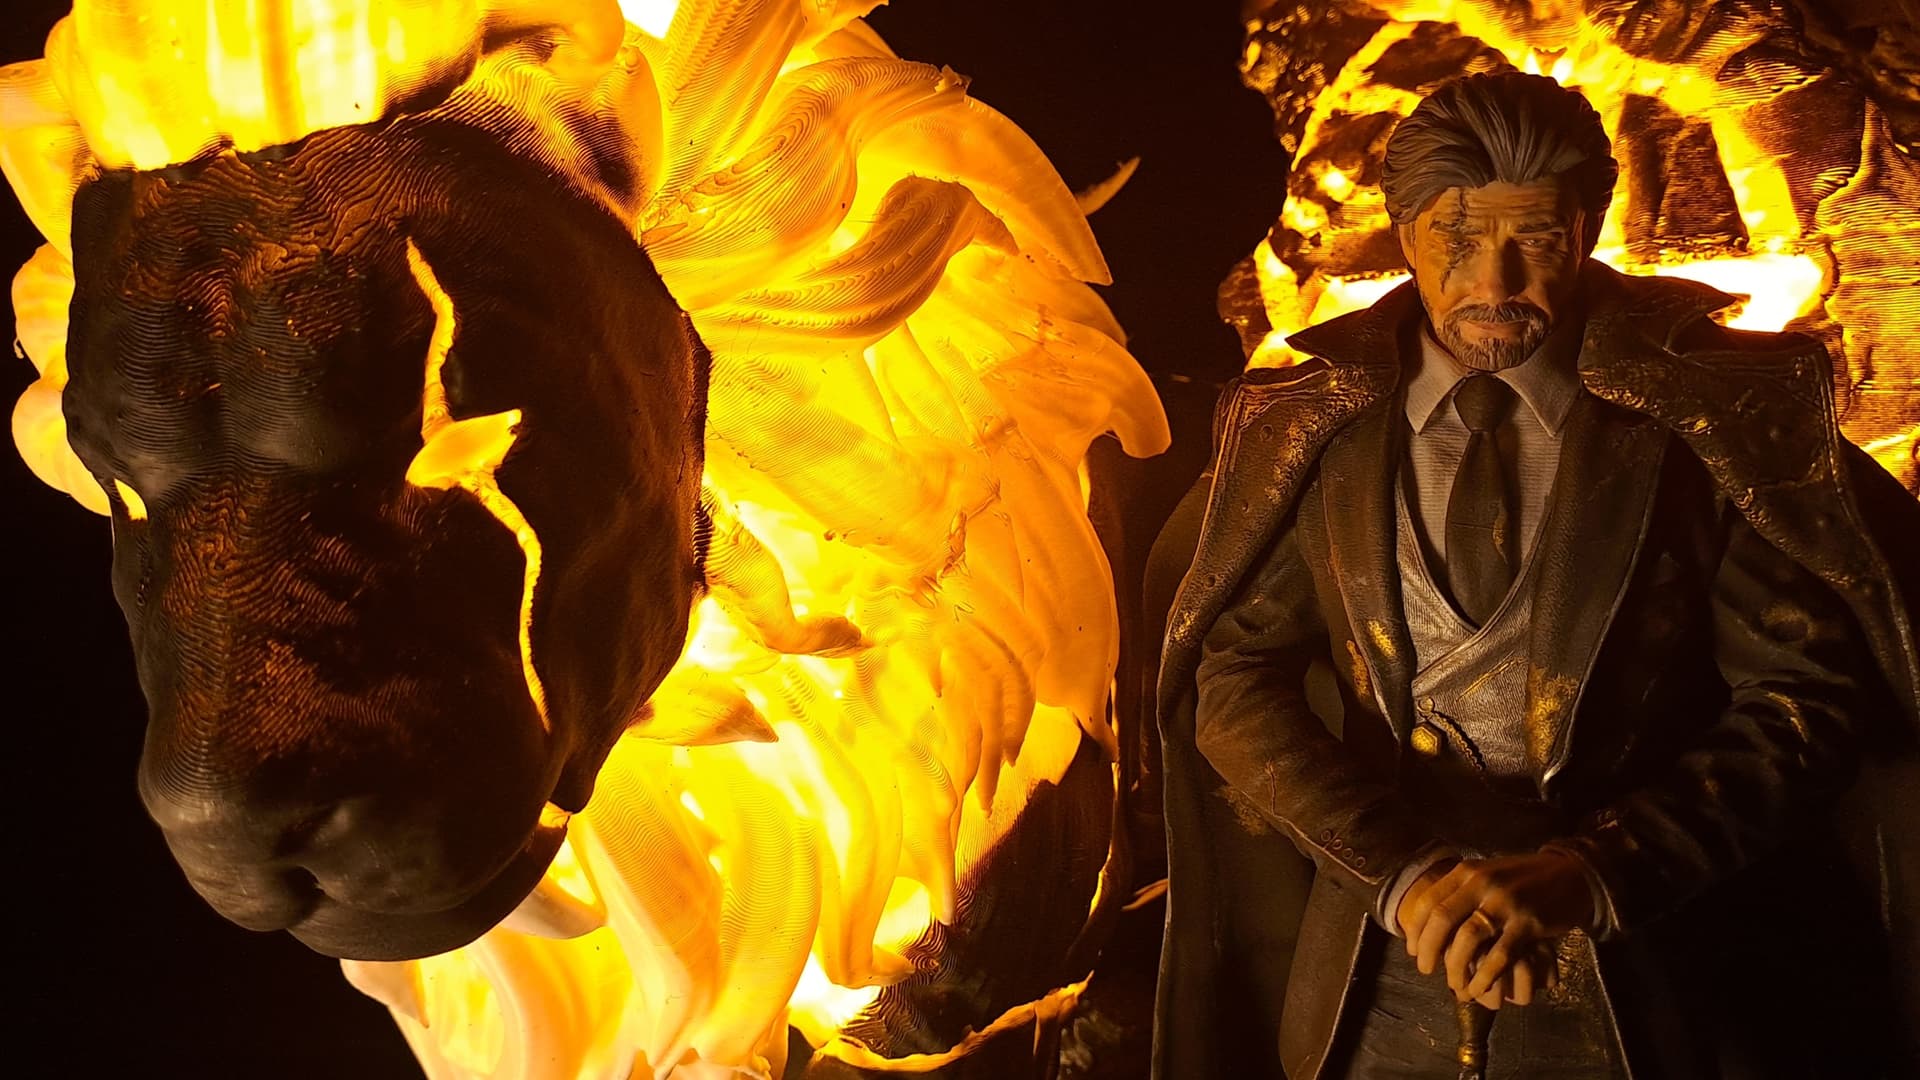
For the Monolith and the Lion, the most critical stage was the pre-printing process, which employed a double-wall structure (making it very light and fragile) to allow LED light to pass through and create a diffused glow. An lighninght infill was applied, maximizing internal void space while maintaining sufficient structural integrity.
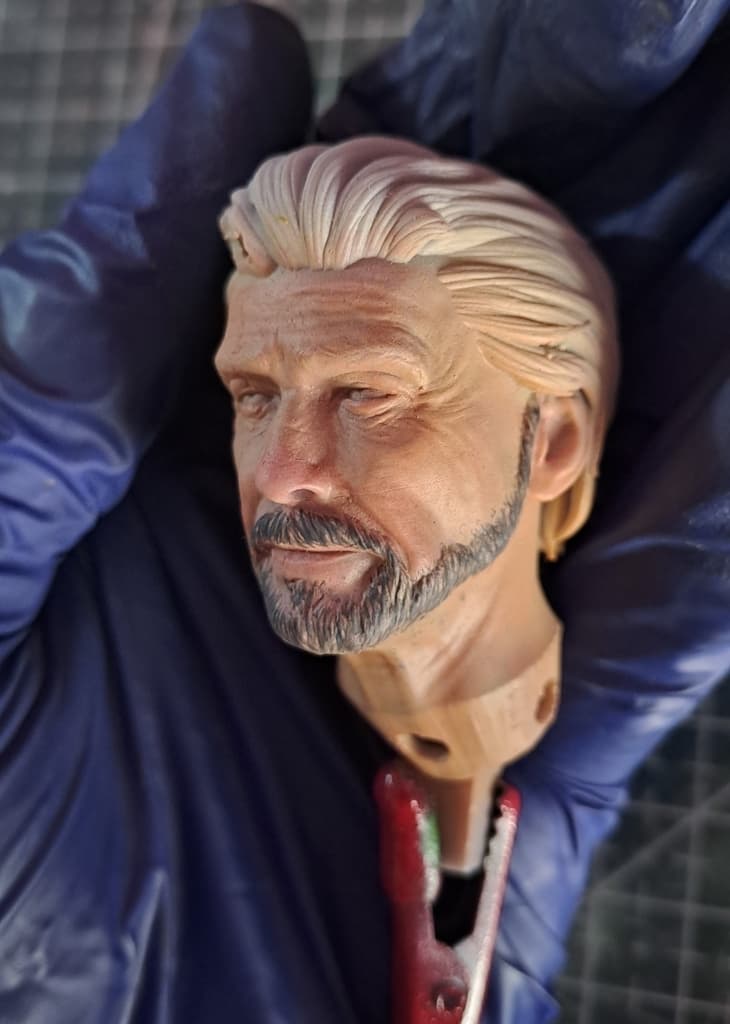
Renoir figure was printed in resin, with small holes for inserting magnets, allowing the parts of the figure to fit together.
To ensure proper fitting, gaps were filled with polymer clay and resing before priming and painting.
The base, Monolith and the Lion were printed using white PLA plastic. A hole was made in both the monolith and the lion (and in all their parts) using a soldering iron to allow for the insertion of a single 3-meter LED strip.
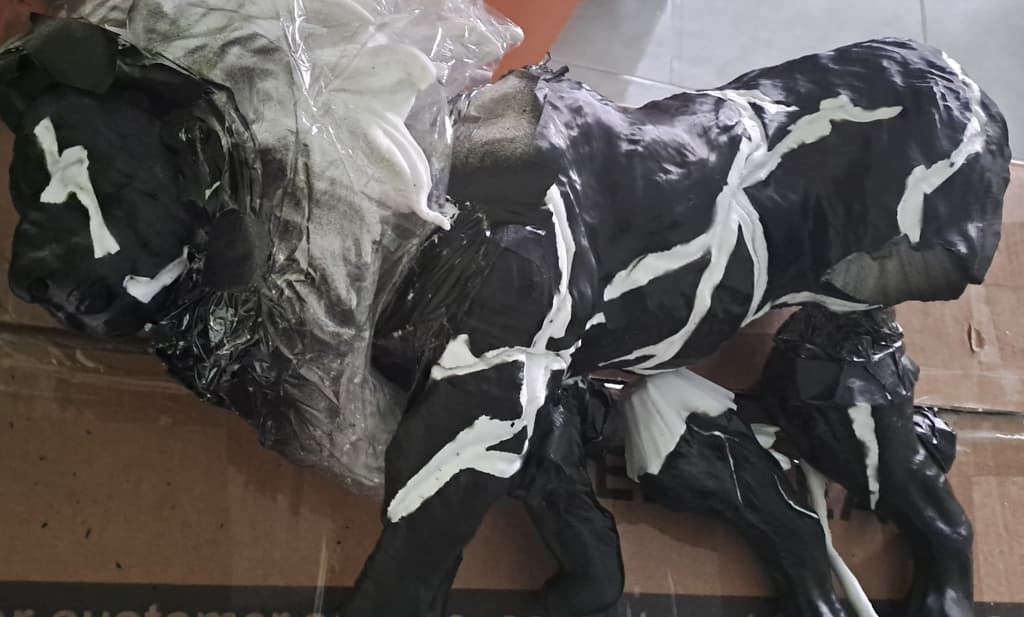
Before painting, masking tape was applied to both the Monolith and the Lion to allow light to pass through those specific areas. Once masked, three coats of black spray paint were applied; this type of paint offers superior, more potent coverage and is less porous, effectively blocking light from passing through.
Final images
Light OFF
Light ON
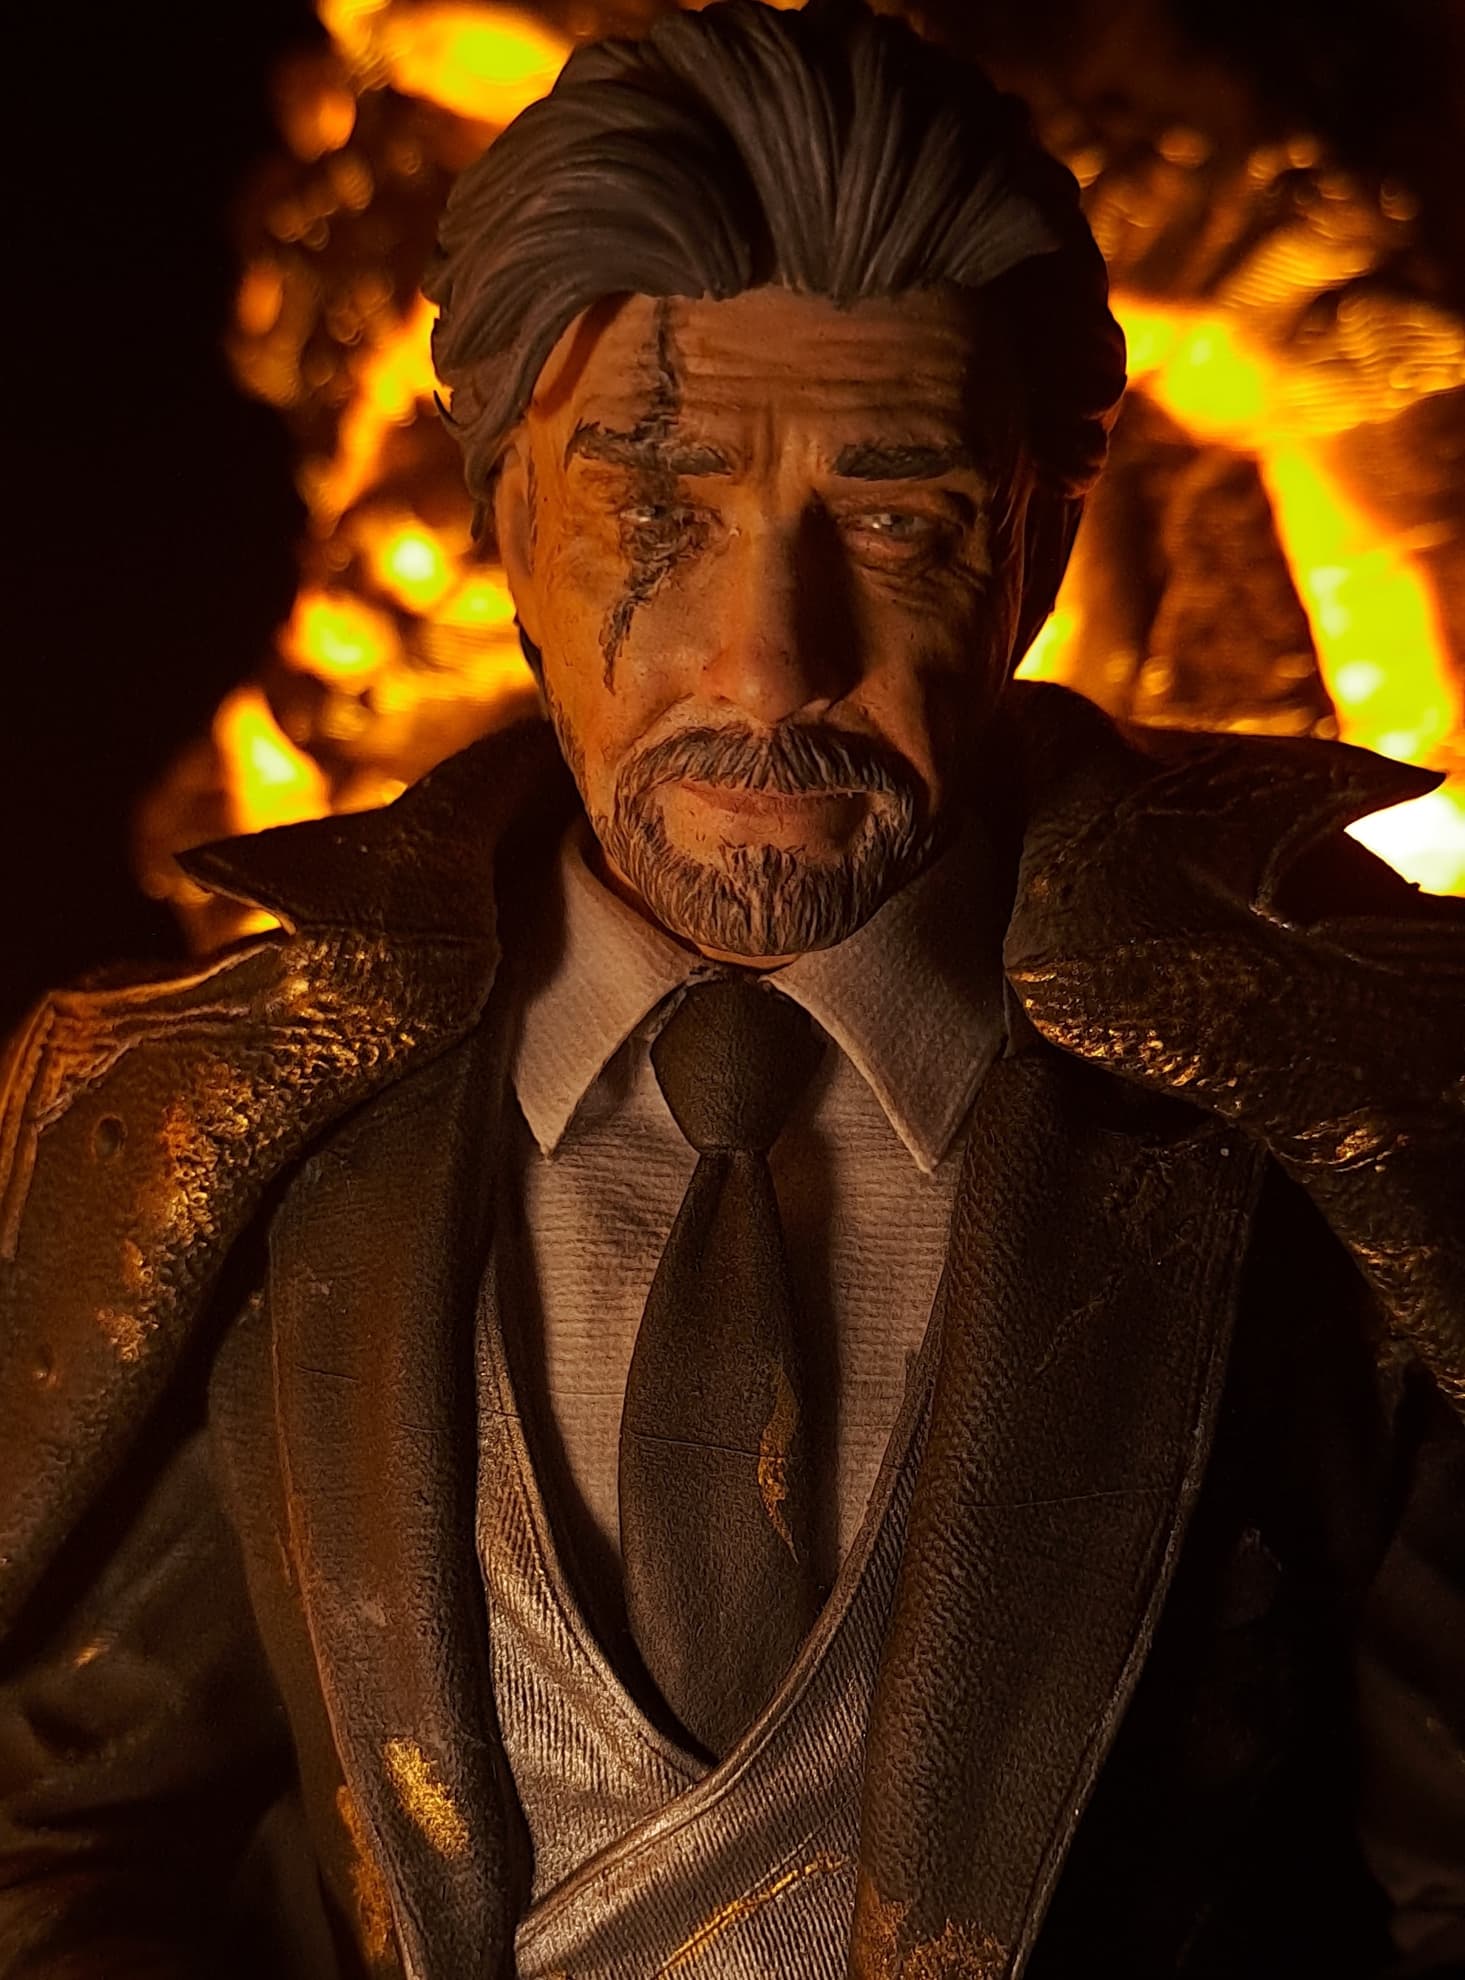
Timelapse video state: work in progress
Total time spent: 11 months.
Material Used
- Bambu Lab A1 FDM 3D printer
- Elegoo Mars 3 SLA Resin 3D printer
- Bambu Studio for slicing and preparing FDM prints
- Chitubox for slicing and preparing resin prints
- Huion Kamvas 13 digital graphics drawing tablet
- Blender for 3D modeling
- Brushes
- Spray paints
- Sandpapers
- Vallejo Paints
- Airbrush
- Polymer Clay